Sunday, July 29, 2012

Matemales

This week's recipe is my (Matthew=Mateo) own version of Tamales.  A number of Latin-American countries have their own versions of Tamales.  Most Americans are familiar with the Mexican Tamal (The singular is Tamal, not TamalE).  In Venezuela, there is a typical Christmas dish called Hallaca, which is basically a Tamal wrapped in banana leaf, instead of corn husk.  I have eaten tamales filled with meat, fruit, beans and a number of other fillers.  The basic idea is the construction of the dish.  This recipe is a hybrid of a few different types of tamales that I have had over the years.  There are elements from different countries in this recipe.

One note about my recipe is that I use foil instead of corn husk for the wrapping.  This was a trick I learned from a friend at Cristo Rey, a church I attended in Chicago for a couple of years.  I know how to do this with corn husk, but it's really time consuming and doesn't add anything to the dish as far as I can tell.


Ingredients:

For the Masa (Dough):

4 c. Very Warm Water

1 T. Salt

1 T. Corn or Canola Oil

3/4 c. or one ear of Corn

Because I just can't do things the easy way!

2 c. Precooked Corn Flour
*Don't use a course corn meal, or it won't absorb the water.  A brown corn flour works, but the best kind I have found are two Venezuelan brands.  There is a way to make it from corn and from corn meal, but it's another thing that's rather complex.  Perhaps another day.

Most common/popular brand - white corn

My favorite brand - yellow corn
For the Filling:

2 T. Corn or Canola Oil

1/2 med. Yellow Onion - Chopped

2 sm. Chile Peppers - minced

1 c. Vegetables of your choice - Chopped

3/4 c. or one ear of Corn

1 c. Beans - any kind - boiled and drained

2 cloves of Garlic - Minced

1 T. Chile Powder

1 t. Cumin

Salt - to taste (if desired)


Directions:

1.  To make the filler, heat 2 T. of Oil in a large skillet over medium heat.  Sauté the Onion, adding the Garlic, Chile Powder, Cumin and Salt.  When the Onions begin to soften, add the Chiles.  Then add the Vegetables and 3/4 c. Corn.  Sauté over med-low heat until they soften, stirring occasionally.

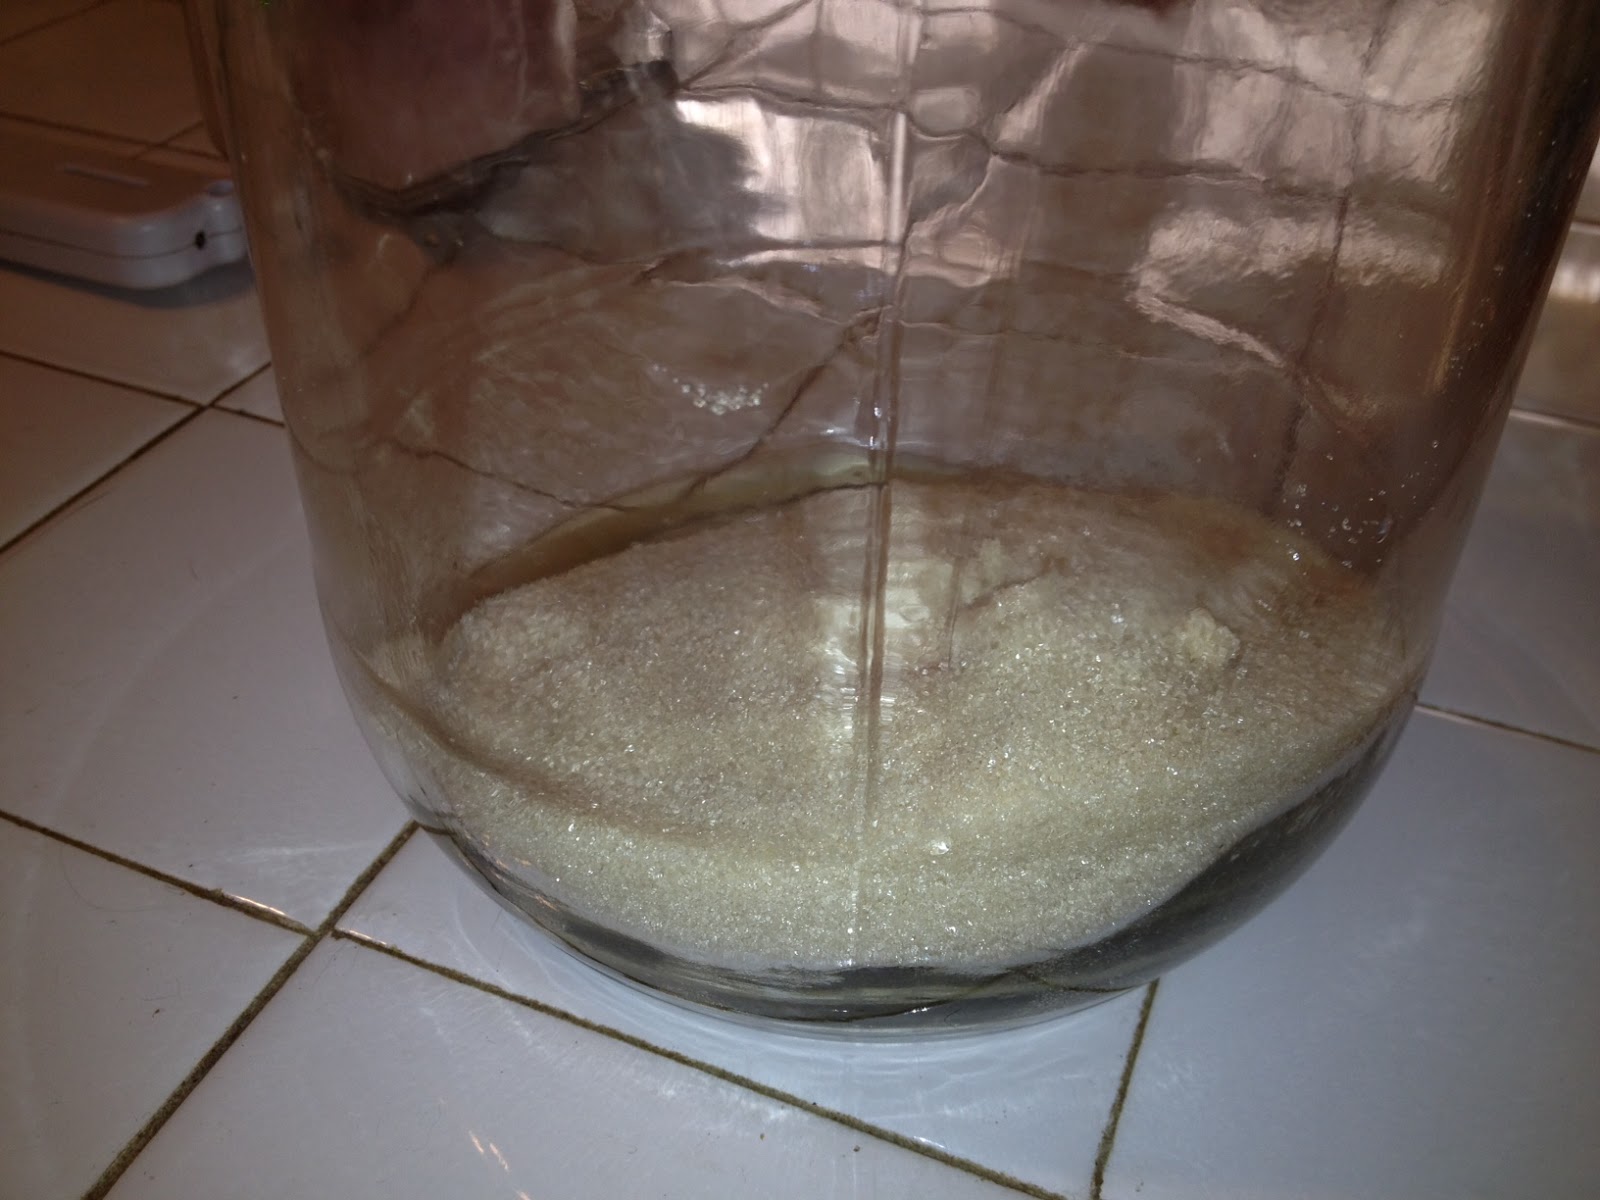
2.  While the vegetables are sautéing, put 4 c. of Hot/Warm Water in a medium to large mixing bowl.  Add 1 T. of Oil and 1 T. Salt.  Then, add the 3/4 c. or Corn.  Next, stir the water with your hand, and slowly mix in the Corn Flour, stirring, then kneading it until it gets to be a sticky, doughy
consistency.

Mixing flour into water/corn mixture

Kneading the masa


What it should look like


3.  Add the beans to the sautéing filler.  Stir the filler well, and let it cook for apx. 1 minute.  Then, remove from heat.


4.  Put a large pot on the stove on high, about 2/3 full of water.  Heat it to boiling

5.  While the water is boiling, cut about a 12" long sheet of aluminum foil.  Press apx. 1/2 c. of masa onto the foil to where it's about a 1/4" thick.


6.  Put 1/3 c. of filling onto the masa.  Then cover filling with another layer of masa, trying to seal the filling completely inside of the masa.


It doesn't have to be pretty at this point.


7.  Fold the aluminum foil up over the filled masa, so that the two edges are together.  Then, fold one edge over the other a few times, until the foil is wrapped tightly around the masa, like a tube.  Next fold the ends of the foil tube in, until the masa is completely wrapped tightly into the foil.

This is what I mean

This is what it should look like wrapped.

8.  Repeat steps 6 & 7 until the masa is completely used up.  It should make 4 to 5 tamales. 

9.  When the water in the pot is boiling rapidly, drop the tamales into the boiling water.  Boil for 20 - 25 minutes.  At least once, turn them over, while they are boiling, so that they cook evenly.  A good indicator that they're done is when the aluminum foil turns brown.


10.  Unwrap the Tamales, and serve.  Be careful, because they are very hot!

Done!


Sunday, July 22, 2012

Kombucha

This is a little out of the ordinary for this blog, but I wanted to share my new hobby.  The reason I say it's a little out of the ordinary is because this is one of those recipes that probably few people will make or be able to make.  It also takes an ingredient that you practically have to stumble upon:  A SCOBY

Scooby?

No, this is not a cartoon dog.  "SCOBY" is an acronym for "Symbiotic Culture of Bacteria and Yeast".  It's a little like a sourdough bread starter in that you have to get it from someone or somewhere that already has one.  Also, it reproduces and makes more than you need, where you eventually have to get rid of some of it.

Where can one fine this SCOBY?  Well, it's likely you may know someone who makes Kombucha and would be happy to give you one.  If you ask nicely and I have one available, I'd be happy to share.  You can also order them online or buy one from a health food store.  

My interest in doing this (and healthy cooking in general) has something to do with the fact that I've had stomach problems for years.  I spent most of this past December 23 in the ER because of my stupid stomach issues.  Anyway, Kombucha with it's light fizziness and probiotics has seemed to be helpful in keeping it settled.  It's also rather tasty.

So, what is Kombucha?  It's effectively a fermented tea, however it's not really alcoholic.  The alcohol level is usually somewhere around .5%.  It's more tart, vinegary and sweet with a slight fizz.  You can buy it commercially, but bottles of it tend to be somewhat expensive.  Making it at home, though is pretty cheap and easy.

Ingredients:

1/2 - 1 c. Vinegar

One gallon of boiling water

Enough tea bags to make a gallon - any kind you like

1 1/2 c. Raw Sugar

1 SCOBY (and maybe a little of the last batch of Kombucha with it)

It's sort of a slimy, white disk

Directions:

1.  Get a gallon pickle jar and sterilize it with the vinegar by swooshing it around inside the jar, making sure the vinegar gets every part of the surface of the inside.  (You may be forced to buy a gallon of yummy pickles and eat them all.  This is a sacrifice some of us have to make.)  Pour the vinegar out and rinse the inside of the jar well with hot water.  If you do not sterilize the jar, the Kombucha may become contaminated.  So, this is very important.

Freshly sterilized

2.  Boil a gallon of water to make the tea.

3.  While you're waiting for the water to boil, put the sugar in the bottom of the sterilized jar, like you're making Sweet Tea.  Next, put the tea bags into the jar, and pour the boiling water into the jar with the tea bags and the sugar.  Stir with a wooden spoon until the sugar is dissolved.


The massacre


4.  Let the tea steep until it is the desired strength.


5.  Take the tea bags out, and let the tea cool to room temperature.  Make sure that you put a cloth, strainer or some light covering over the tea as it cools, so it won't become contaminated with mold spores.  Cooling may take a couple hours.  

6.  Once the tea is cooled, drop the SCOBY in.


7.  Cover the jar with a cloth so that it can breathe, but not be exposed to the air.


8.  Put the jar in a room temperature place that is not exposed to too much direct sunlight.  Let it sit there for 14 days.  (The time may vary depending on the size of the SCOBY.)  The SCOBY will normally float on top or a new SCOBY will form on top.  After a few days, you may see bubbles forming under the SCOBY.  This is a good sign that fermentation is happening.

9.  With a funnel, pour the partially-brewed Kombucha into jars or bottles and seal them.  Set them aside for another five days.


10. Keep the SCOBY stored in a little of the leftover tea until you use it again.  If you are going to put it aside and not immediately use it, keep it covered with a cloth.  The smooth SCOBY on the top is called a baby, while the brown one underneath is the mother.  It comes in layers.  You can peel off the layers if you are going to give some of it away.  Make sure it always stays in a little bit of Kombucha if you are going to transport it. 

11.  Chill the bottled Kombucha in the refrigerator before serving.

*Just as a heads-up, as the Kombucha brews in the sealed bottles, it may begin to form new cultures in it.  It won't hurt you, but if you feel better about it, you can pour the Kombucha through a strainer before drinking it.

*Also, sometimes - although, it's rare - Kombucha can become contaminated with mold spores.  This is why you have to keep the tea and SCOBY from direct air exposure as much as possible.  If mold forms, unfortunately, you have to throw the whole batch and the SCOBY away.


Sunday, July 15, 2012

Spicy Popcorn

Today.  I'm going real simple, but for a good reason.  I know what you're thinking: "Fr. Foodie, really?  I know how to make Popcorn."  Do you ever want a snack, so you go to the pantry?  Lo and behold, you pull out a bag of microwave popcorn.  You throw it in the microwave, and after 3 1/2 minutes, you have a yummy, buttery snack, full of salt, fat, and yellow #7.  
Microwavable Popcorn is an invention of my lifetime, but if you're too much younger than me, it probably has never occurred to you that you can actually make popcorn any other way.  (That's right, the Native Americans, as a traditional snack, had to lug a microwave around with them as they followed the Buffalo across the prairie.)

It turns out, popcorn is a pretty diverse food.  On its own, it's quite healthy.  It will taste like anything you put on it.   So, have you ever thought, hmm why am I putting the standard hardened milkfat on it?

For years now, I've been doing alternative flavors of popcorn, and making it from scratch.  Here's one of my favorite ways to do it.

Ingredients:

1 1/2 c. Popcorn Seeds
3 T. Olive Oil for popping

3-4 T. Olive Oil for seasoning

1 t. Garlic Powder

1 t. Chile Powder

1 t. Ground Red Pepper

1 t. Curry Powder

1 T. Salt

Directions:

1. Place Popping Corn in a very large pot.  Put in 3 T. Olive Oil. Swoosh it around until the kernels are covered with oil.


2.  Cover the pot and put it on the stove over medium heat.  When the corn starts to pop.  Shake the pot every 10 - 15 seconds to get the unpopped kernels to the bottom, and not burn the already popped corn. 

3.  When the popping slows down to apx. 2 seconds between pops, turn off the stove, and shake the pot one more time.  You should hear a couple more pops before removing the lid.

4.  Add the Garlic, Chile, Red Pepper, and Curry.  Drizzle the remaining Olive Oil over the popcorn.  Put the lid back on the pot, and while holding the lid down, shake the popcorn well to distribute the spices over the corn. 

Shake shake shake!  Shake that popcorn!
5.  Guard your popcorn carefully, so Kristen doesn't eat your half :)

Here it is again.

Sunday, July 8, 2012

Gazpacho

So... The secret 2nd. part to last week's Tomato Juice recipe is...


¡Gazpacho!

This is quite possibly one of my favorite foods.  It's full of crunchy vegetables, it's healthy, it's refreshing and it's delicious.  I love Gazpacho, partly because of my love of Spain. 

Like so many recipes, there are scores of different ways to make Gazpacho.  Some people like it chunky (as this recipe does), others puree it to be drinkable.  Sometimes, it's puréed with vegetables added afterward.  Some recipes call for bread, either blended or left in chunks in the juice.  This recipe is one that my (not Spanish) dad has been making for years.  His recipe calls for beef broth.  So, I modified this one to be vegan.

Ingredients:

2 lbs. Tomatoes
*Appx. 4 large tomatoes.

1 Cucumber (Which has a much funnier name in Spanish: Pepino)

1 Bell Pepper - Any color
*For this recipe, I chose red

1 Bunch of Green Onions

1 t. Celery Salt

6 c. Tomato Juice

3/4 c. Condensed Vegetable Bouillon
*If 1 Cube makes 2 c, boil it down to 1 c.  Makes sure it's room temperature before adding it to the mix.

3 T. Olive Oil

2 T. Red Wine Vinegar

1 t. Black Pepper

A dash of Hot Sauce (Optional - but why wouldn't you?)

Salt - to taste
   

Directions:

1.  Chop the tomatoes, discarding the green parts.

2.  Peel and de-seed the cucumbers


3.  Chop the green parts (tops) of the Green Onions. 


4.  Chop the Bell Pepper into large chunks

Yummy vegetables!
5.  Mix the vegetables, and Tomato Juice together in a very large bowl.  Add the Bouillon, Olive Oil, Vinegar, Hot Sauce, Salt and Pepper.  

6.  Let chill for at least two hours in the refrigerator before serving.  


Sunday, July 1, 2012

Tomato Juice

This will be a two (maybe three) part recipe.  The first part of this recipe will be making Tomato Juice.  The second part of the recipe will call for Tomato Juice.  To make this recipe, I modified a couple of other online recipes.  I found making tomato juice was a little like making Ketchup, but with obviously different results.

Ingredients:

3 lbs. Very ripe Tomatoes
(Since it's early in the season, I had to let these sit in a bag in the window sill for a few days to ripen.)


2 Stalks of Celery - Chopped with leaves


2 T. Raw Sugar
*Cuts the acidity of the tomatoes.  You can probably use less for riper tomatoes.

1 t. Salt

1 t. Cayenne Pepper

1 dash Black Pepper

Directions:

1.   Chop the tomatoes into quarters or eighths.  Cut off the green parts and the bad spots.  Squeeze the seeds out.

2.  Blend tomato pieces on liquefy for a full minute.

3.  Put blended tomatoes and all other ingredients together into a non-corrosive pot. 


4.  Bring mixture to a boil, then turn down to simmer.  Simmer for 20-25 minutes.

5.  Pour mixture through a strainer into a large bowl to strain out the celery and excess pulp.  Discard the celery (or eat it, as I did, because it was yummy) and pulp.

6.  Let the tomato juice cool in the bowl, then put it into a jar and chill in the refrigerate before serving.


*By the way, despite it saying it was published by Kristen, it was still published by Fr. Foodie.  She took and uploaded the pictures.  (Grrr...Blogger!)