Sunday, September 23, 2012

Butternut Squash Soup

So, last week I took a little hiatus.  As the program year started, things got a little busy for me to post.  To make it up, I'm doing what is quite possibly my favorite fall recipe.


Fall has officially started, and with it comes fall produce.  Squashes abound this time of year.  You can pick them up at the grocery store and at farmers markets.  The question is what to do with them. 


Making a soup is a great way to make Butternut Squash, especially on a chilly day.  This soup is actually a cream soup.  It's totally an invention of mine, and one that I've made for a few years.  It is always a favorite at potlucks and dinner parties.  The recipe is pretty simple.

Ingredients:

1 Butternut Squash

1 sm. or med. Yellow Onion

6 oz (about 6 cu. in) of Fresh Ginger Root

2 c. of Vegetable Broth
*If you use vegetable bouillon, just add 2 more cups of water and throw the cube into the pot at the beginning.

8 c. Water.

1 block (apx 12 oz) of Tofu

Salt - to taste

Directions:

1.  Peel the and chop the Butternut Squash into 1" - 1 1/2" pieces.  You will have to scoop the seeds out of the squash.  I find it's helpful to cut the squash into larger pieces first.  Once you've done that, scoop the seed out, and peel the larger pieces.  Then, you can cut it into smaller pieces.


2.  Peel the Ginger Root and chop it into 1" pieces. 
*When handling raw ginger, make sure you wash your hands immediately, thoroughly and frequently.  Raw ginger is very acidic and can do some damage to your skin.  

Do as I say, not as I do!
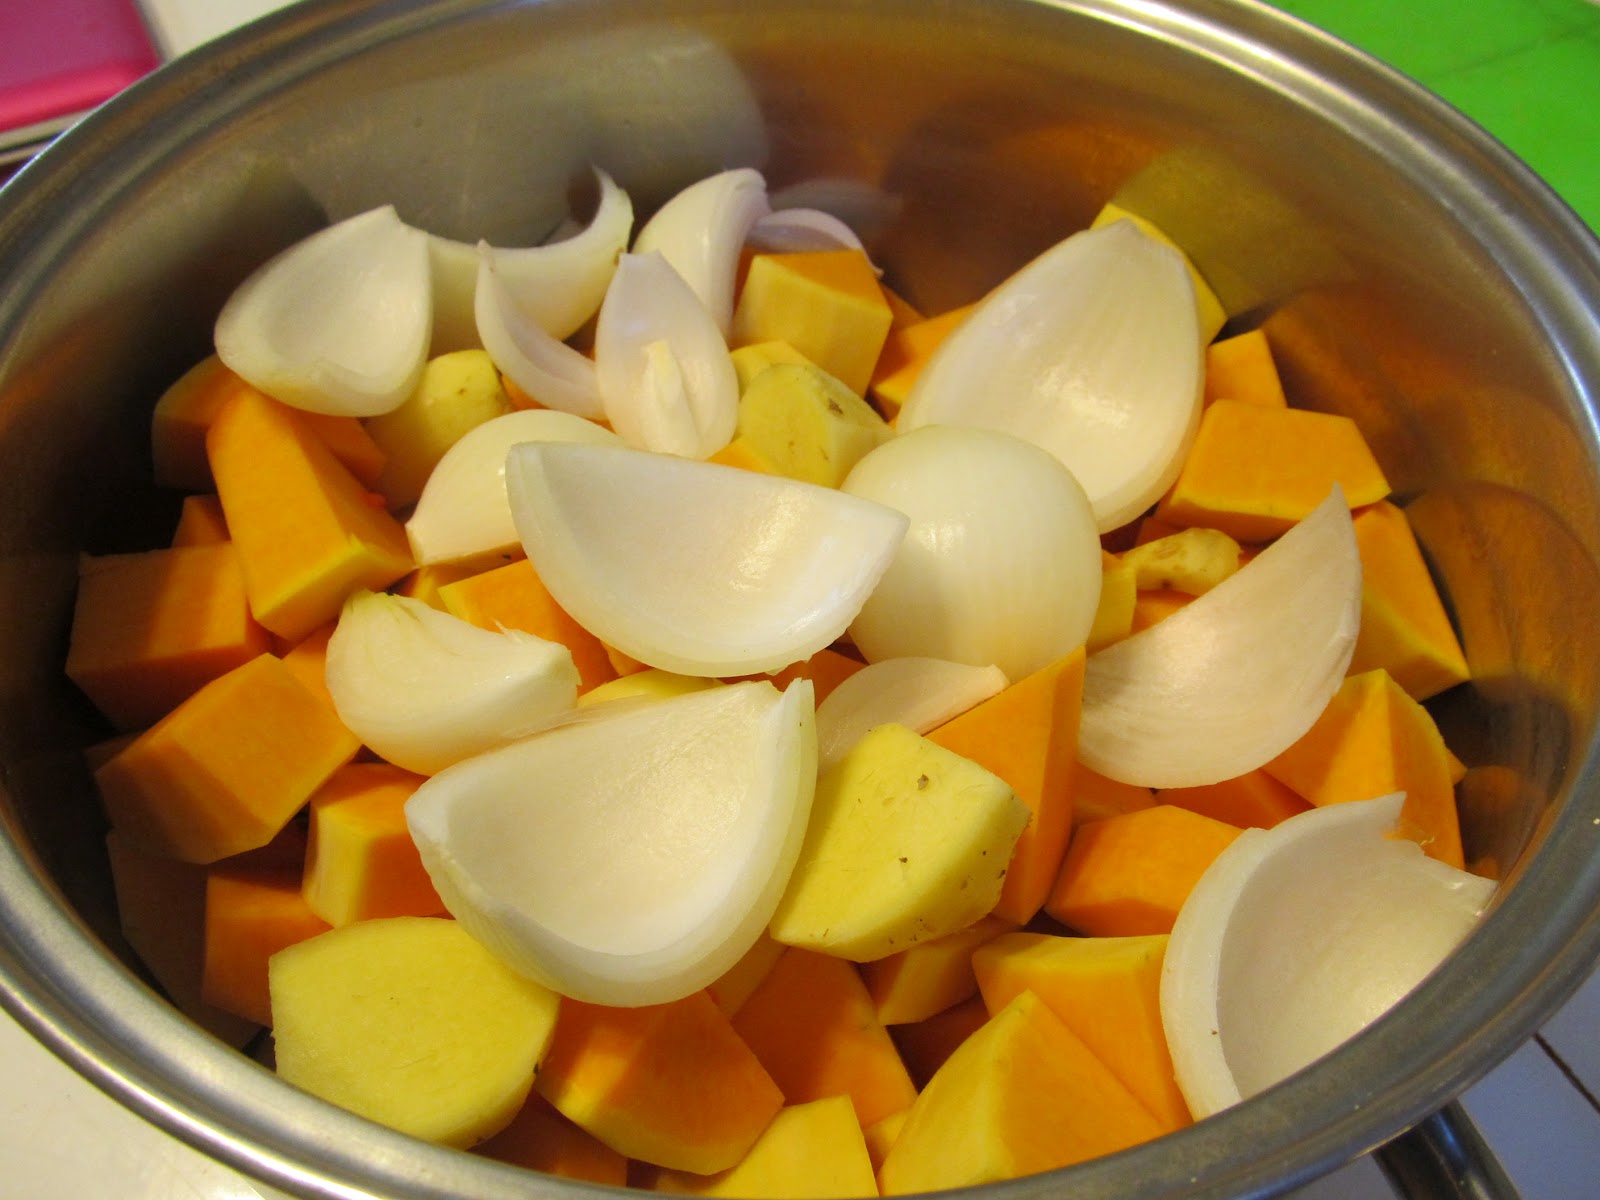
3.  Quarter the Onion and take off the skin.  With your hands break it up the onion layers a little.


4.  Put the Squash pieces, Ginger Root, and Onion into a very large pot.  Add the Water and Vegetable Broth (or Bouillon).  Put the pot with all the ingredients (no tofu yet) on the stove top and bring to a boil.  Cook on high head until the squash pieces can easily be stabbed with a fork (Apx. 20 min.)

5.  Remove the pot from the heat and let the mixture cool at least until you can touch the sides with your bare hands.

6.  Separate the liquids from the solids into large bowls. Set some of the Squash pieces (about 2-3 c.) aside. 


7.  Put the Tofu, and solid pieces into a blender until the blender is nearly full.  Add the liquid to just cover the solids.  Blend on any setting until the mixture is completely pureéd.  Pour the purée back into the large pot.  Then, put the rest of the solids into the blender, cover with the liquid again, and blend the rest together.  Pour that into the pot with the rest of the liquid.


8.  Cut the Squash pieces you set aside into 1/2" cubes and add them back into the pot.

9.  Stir everything together and cook uncovered on med-low heat until it reaches the desired thickness (Apx. 1 hr.)  Stir occasionally so that the soup does not stick to the bottom. 


10.  Salt to taste and serve.  I find this soup is really good served with a dollop of Plain Yogurt (As shown above).


Sunday, September 9, 2012

Sunflower Butter

A few weeks ago, when I posted how to make Tahini, it occurred to me how similar it is to making a nut butter.  Almost everyone's familiar with Peanut Butter, but unfortunately a lot of people are allergic to it.  There are plenty of alternatives, but they can be hard to find and expensive. 

Being from Kansas, I've always had a fondness for Sunflowers.

(If you're from the East Coast, Kansas is a State in the middle of the country.)

The Sunflower is the State flower, and as you can see, there's even a sunflower on the State flag.  

Not only do I like the flower, but I like Sunflower Seeds.  What guy doesn't like swooshing them around in his mouth to take the shell off, and spit it out?  Obviously, it's much easier to eat the kind that are already shelled.  A few years ago, I tried for the first time, Sunflower Butter.  It's basically like Peanut Butter, but tastes better.  The downside is that, as I stated above, there's a cost and availability problem.  

So, after a few attempts at making it with some trial and error, I finally got a good recipe for it.  

Here it is!
Ingredients:

2 c. Shelled, Unsalted Sunflower Seeds

3 T. Sunflower Oil (Preferably Unrefined)

1/2 t. Salt

1 T. Agave Nectar (Or any sweetener, really)
*Agave Nectar is very low glycemic, which is why I chose this as a sweetener.  It's also becoming very common and easy to find.

You won't need nearly this much.

 Directions:

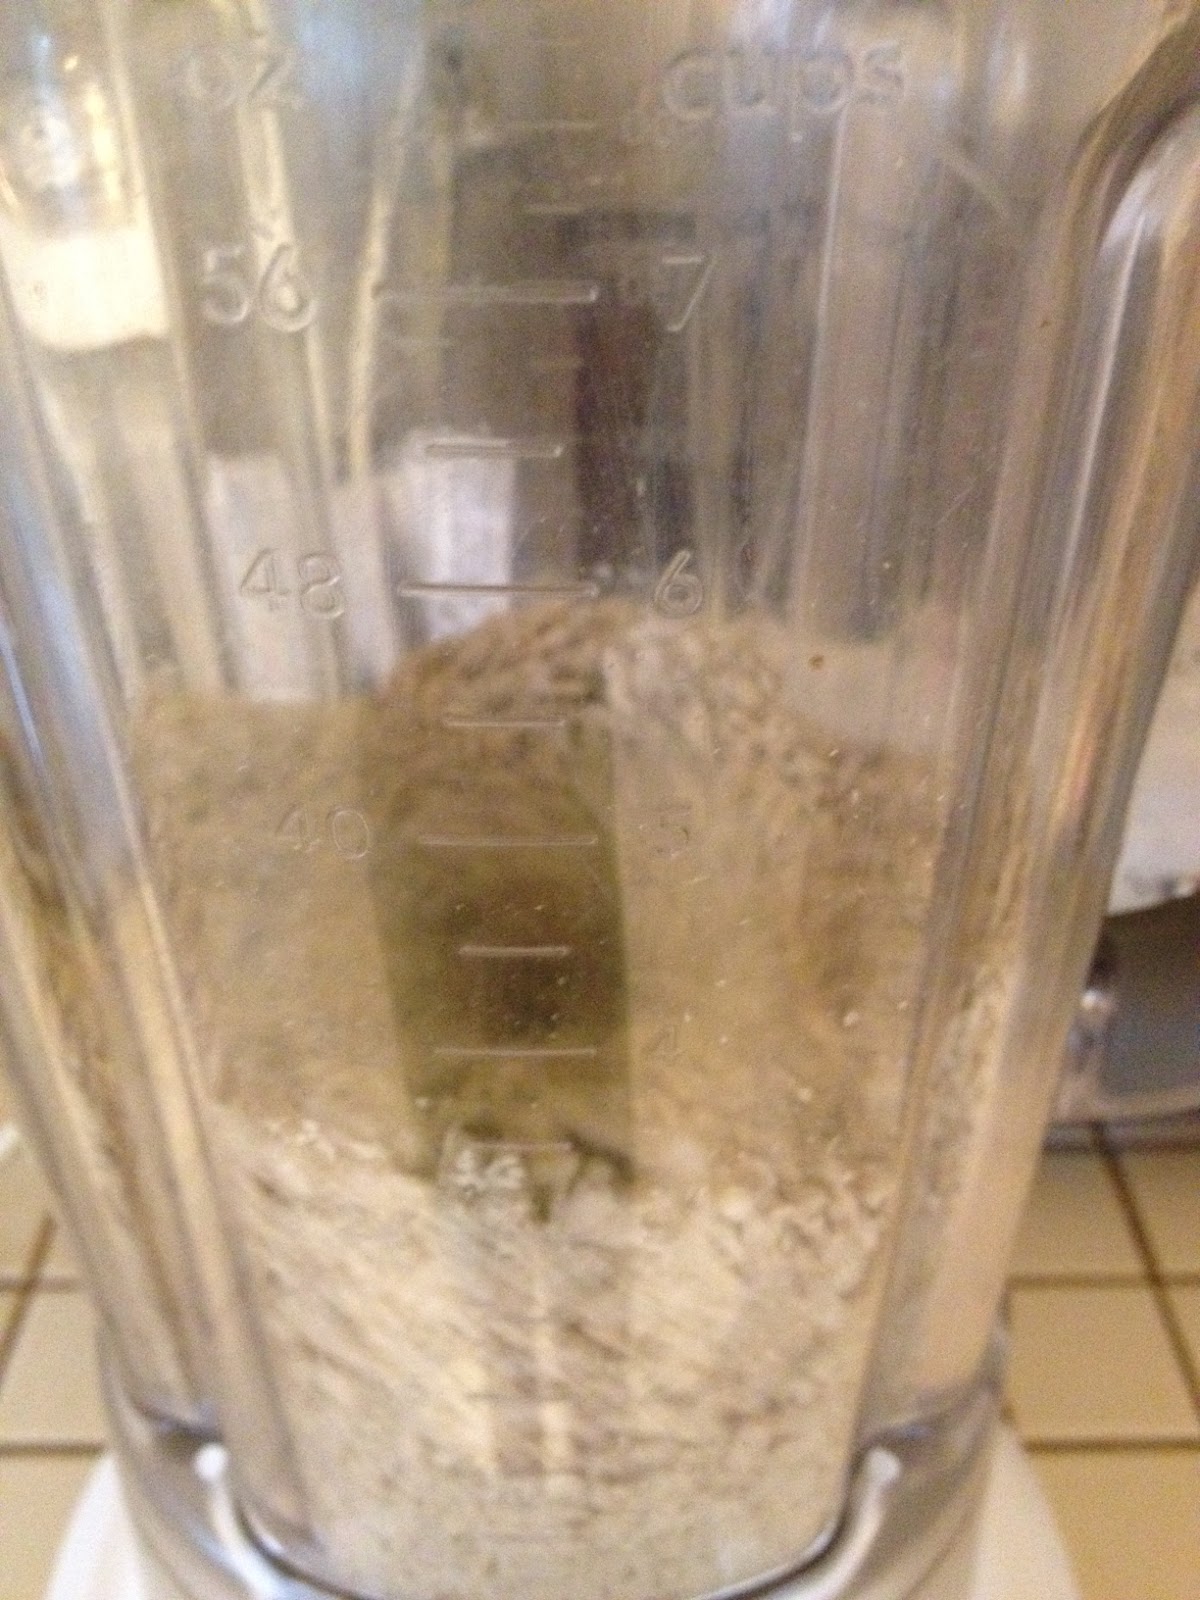
1.   Put the 2 c. of Sunflower Seeds into a blender.


2.  With the lid on, turn the blender on a high setting and grind the seeds until they become a fine powder.  You will probably have to stop the blender and scrape the sides with a rubber spatula once or twice.


3.  Switch the blender to its lowest setting (Stir), and very slowly drizzle in the Sunflower Oil.  Again you will probably have to scrape the sides a couple of times.  

4.  When the mixture reaches the desired consistency, add the Salt and Agave Nectar.  Turn off the blender, and stir a couple of turns with a spoon.  Then, put it in a jar for storage.


Sunday, September 2, 2012

Yogurt Dill Dip

It's Labor Day Weekend, and who wants to go to a lot of work making something?  Chances are that you'll either be going somewhere or having someone over.  Here's a simple and good recipe to go with any hors d'oeuvres. 


A few months ago, Kristen got me a starter kit with cucumber and dill seeds for a pot garden.  I think she may have had something in mind with cucumbers and dill.  


Unfortunately, the cucumbers haven't done so well.  We've gotten two of them off the vines, and neither were that great.  The dill, though, has done great.  So, I've been trying out different things with it.  This dip is a delicious way to use that dill, and it's healthy too!

Ingredients:

1 1/2 c. Plain Nonfat Yogurt

1 T. Fresh Dill - Finely Chopped


1/2 t. Garlic Powder

1/2 t. Salt

Hot Sauce

Directions:

1.  Put the Yogurt in a small to medium sized mixing bowl.


2.  Add in the Dill, Garlic Powder and Salt.  Add a few drops or one good shake of Hot Sauce.


3.  Stir together, and refrigerate for an hour before serving.

Voila! 

Sunday, August 26, 2012

Tahini

"What is Tahini?" you may ask.  The first time I made Hummus, I asked myself the same question.  Tahini Paste is a common ingredient in a lot of middle-eastern foods as well as dips and sauces.  It's sometimes called "Sesame Paste".  I have run into a lot of recipes that call for it.  One of the biggest problems is that at 16 oz. jar of decent Tahini of it can cost $12-15.


In the last couple of months, I've figured out that I can save this money.  How did I figure this recipe out?  Well, funny story.  I was grumbling about how much it cost and I looked at the back of the jar to see what all was in it.  It turns out there are TWO ingredients in this liquid gold I've buying.  On top of that, they're incredibly common and incredibly cheap ingredients.  So, now I've worked out an easy method and the right proportions, I'm sharing this recipe with you.

Ingredients:

2 c. Sesame Seeds

1/2 c. Unrefined Sesame Oil

Directions:

1.  Put the 2 c. of Sesame Seeds in a blender.  With the lid on the blender, blend on a medium-high setting (Mix or Purée) until the seeds are finely ground.  You may have to scrape the sides with a rubber spatula once or twice and run the blender again.


2.  With a rubber spatula, scrape the sides to get all the ground seeds to the bottom in a pile around the blade.  Then, add the Sesame Oil.  Blend on a low setting (Stir) for 30 - 60 seconds until the oil and seeds are well mixed.  Then, blend on a medium-low setting (Chop or Mix) for at least two minutes.  The seeds should continue to blend into finer pieces so that the whole thing gets to be a thick pasty consistency.

3.  Scoop the paste out of the blender into a jar, and store in the refrigerator until ready to use.


Sunday, August 19, 2012

Mango Pineapple Salsa

This week, I'm doing something a little different.  We're all familiar with savory, tomato-based salsas.  But, salsas can be quite varied.  Unlike most which are vegetable-based (I know a tomato is a fruit), this one is fruit-based.


Ingredients:

1/2 fresh Pineapple


1 Mango

1/2 c. finely chopped fresh Mint Leaves

2 Jalapeños
*You can use 1, if you want it less spicy.

1 c. chopped Green Onion - white and green parts without the roots

1/2 t. Curry

1/4 t. Salt

Juice of 1 Lime

Directions:

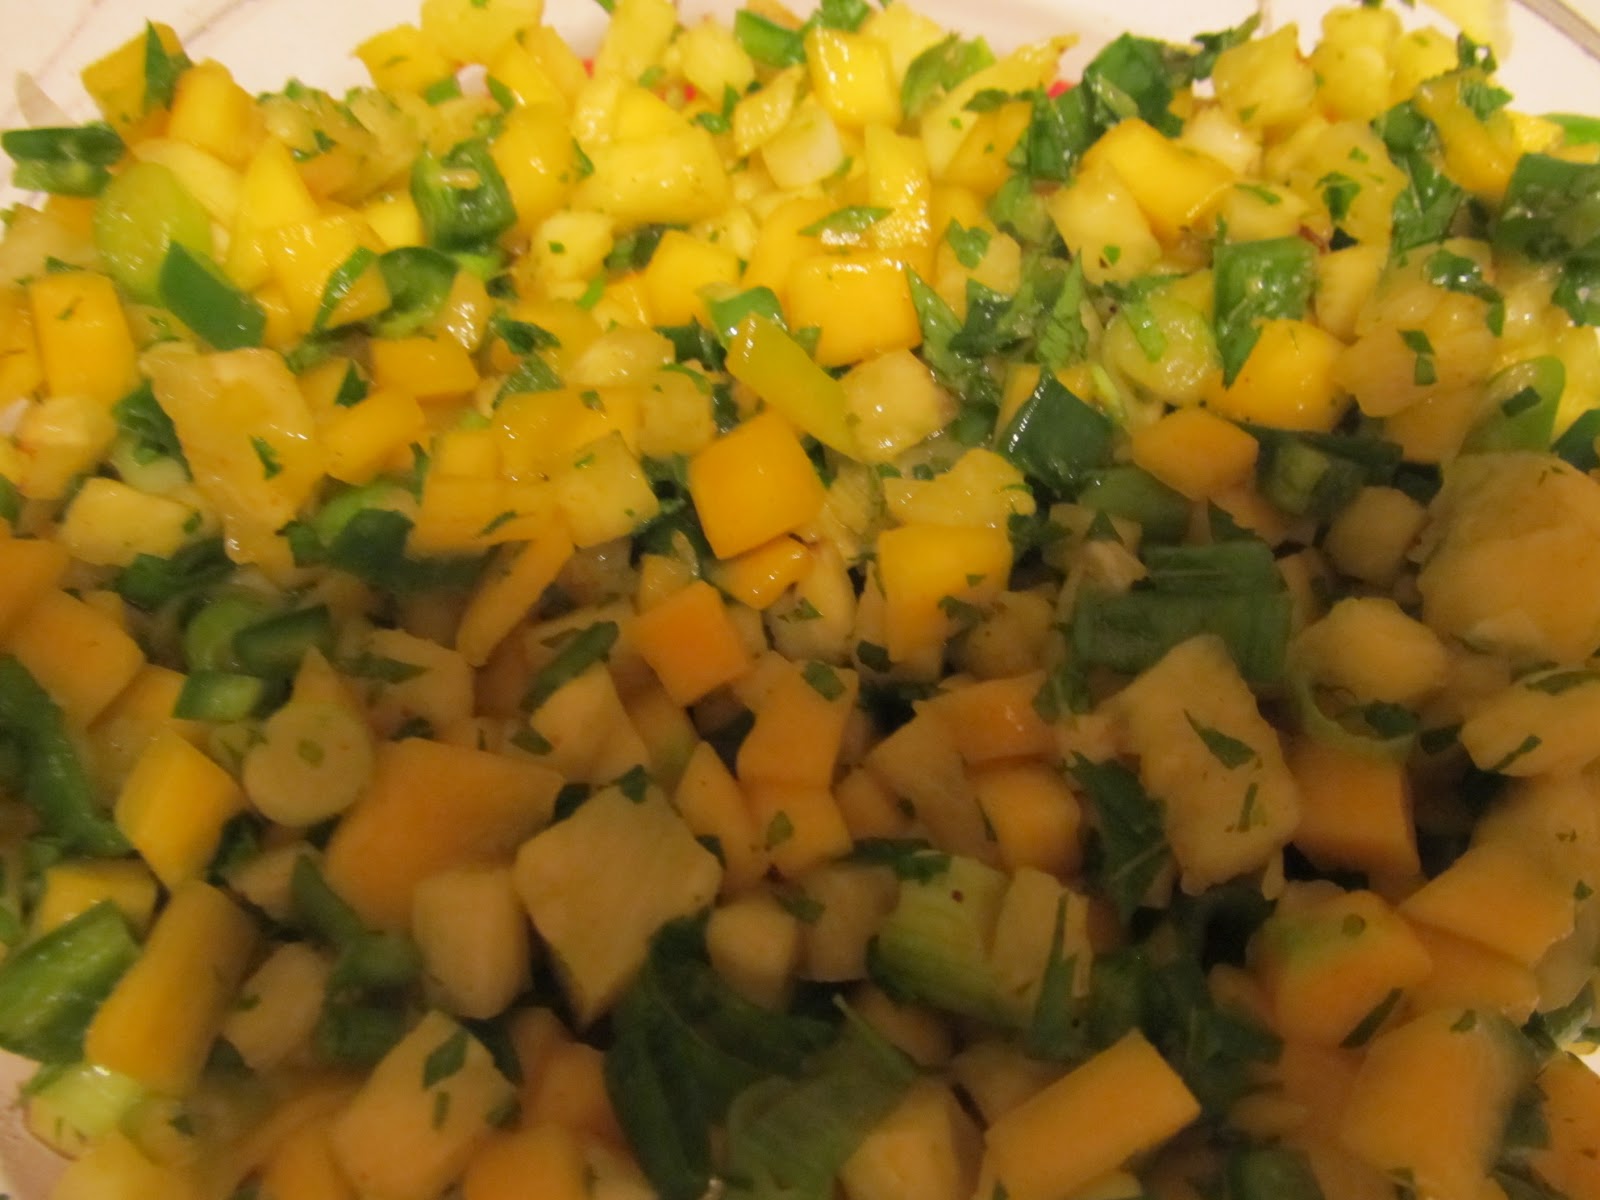
1.  Peel the 1/2 Pineapple and remove the eyes.  Finely cube the pineapple into small pieces slightly smaller than 1/4".  Then, peel and cube the Mango into pieces of the same  size.  Put the chopped pineapple and mango in a medium-sized mixing bowl.


2.  Remove the jalapeño stems and deseed the peppers.  Finely mince the jalapeños, and add them to the mixing bowl.


3.  Add the onions and mint leaves.  Stir the mix together.


4.  Add the Curry, Salt and Lime Juice.  Stir well.

5.  Chill in the refrigerator for at least 2 hours.  Stir before serving.


Sunday, August 12, 2012

Caraotas Negras

Probably the standard for Latin - especially Caribbean cooking - is Black Beans.  This is one of those dishes I learned while living in Venezuela.  The word for the type of bean that is a Black Bean in Venezuelan Spanish is "Caraota".  In Puerto Rico and the Dominican Rebublic, it's called "Habichuela".  But, please don't call them "Frijoles" unless you're in Cuba or Mexico.  Elsewhere, a frijol refers to a white bean.


This is a pretty simple dish to make, and incredibly versatile too.  The recipe is basically the same as my Basic Beans post, but with a little extra going on.

Ingredients:

2 c. Dried Black Beans

10 c. Water

1 t. Salt for boiling the beans

1 T. Olive Oil for boiling

1/4 c. Olive Oil for sautéeing. 

1 sm. Yellow Onion

1 large Bell Pepper

1 or 2 Chile Peppers (Optional)

3 or 4 cloves of Garlic

Salt and Pepper to taste

Directions:

1.  Soak the beans in the 10 c. of water over night.  You may put in a pinch of Fennel Seed and a pinch of Baking Soda while soaking them.  It might be helpful to review my post on how to make beans before doing this part. 

2.  Add the 1 t. of Salt and the 1 T. of Olive Oil to the soaking beans.  Then, cook the beans on high, and boil them for 1 - 1 1/2 hours, or however long it takes to soften them.  As it's boiling, you will probably need to scoop the gray foam off the top before it boils over. 

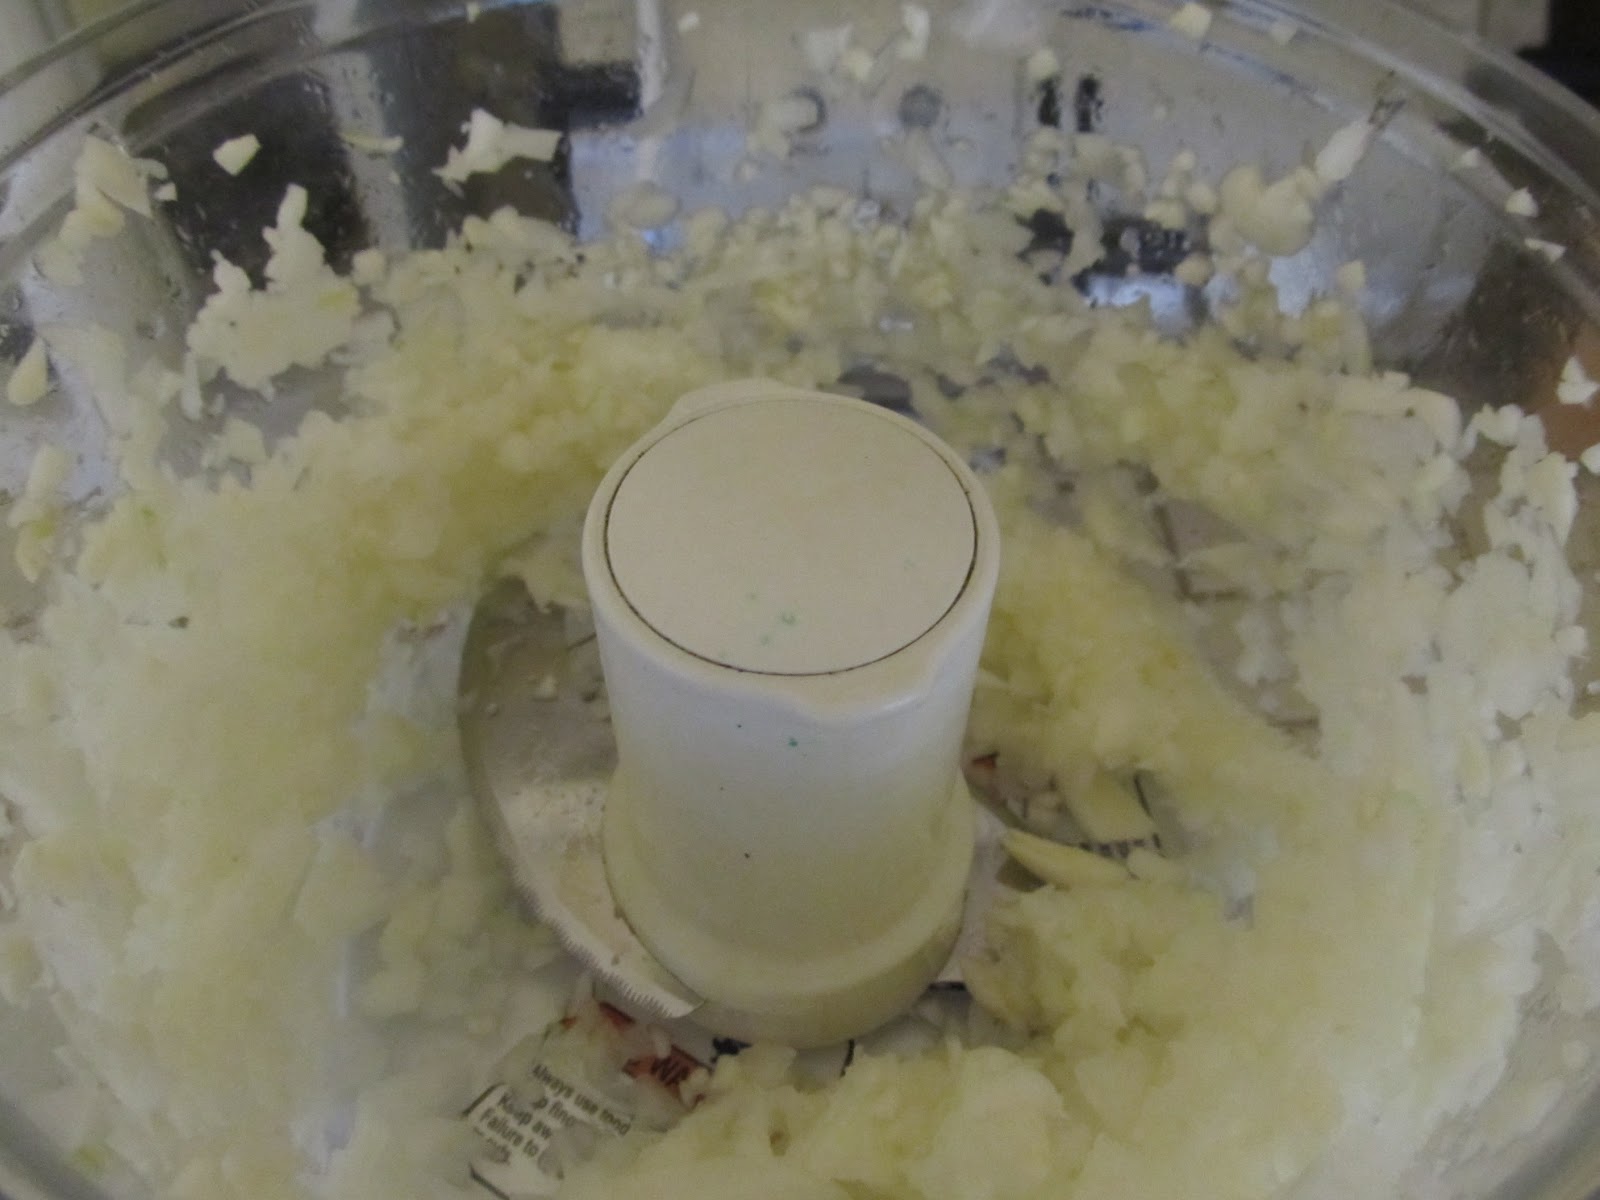
3.  As the beans are boiling, mince the onions and garlic finely and set them aside.  I have found you can do this in a food processor on Pulse.  Do not turn the food processor on full or it will liquefy the onions.


4.  Quarter the Bell Pepper and remove the seeds and stem.  There's a helpful hint on chopping peppers in my post on Hummus. 


If you are using the chile peppers, cut the tops off, cut them in half and de-seed them.  Next, finely mince the peppers.  Again you can use a food processor on Pulse, but be especially careful with peppers as they will liquefy very easily.  Set the minced pepper aside.


5.  Heat the 1/4 c. of Olive Oil in a large skillet over medium heat.  Add in the minced Onion and Garlic.  Let them sauté until they begin to brown a little.  Then, add the peppers and continue to sauté them, stirring occasionally.  Cover the onion/pepper mixture with a lid while it cooks, continuing to stir occasionally.  Cook the mixture until all the ingredients are soft.  This is called the "alineamiento" (I don't know an English word for this).


6.  When the beans are soft, add the alineamiento to them and simmer together for apx. 1/2 hour.  They should thicken a bit.  You can cook them to desired thickness.  Add salt and pepper to taste before serving.


*There are various ways to serve Caraotas Negras:

1.  You can eat them as they are, like a soup.  This is commonly called "Turtle Soup."

Despite what your favorite cartoon about ninja turtles taught you, Turtle Soup does not contain turtle meat.  It's called that because black beans are sometimes called "turtle beans".  

2.  You can serve them over rice.

Like this.

3.  A very typical thing done in the Caribbean is to serve caraotas negras over spaghetti noodles, and then add a Tablespoon of Mayonnaise and Ketchup.  You then, stir the mayo and ketchup into the beans before eating.  


Don't judge it until you try it!!!


Sunday, August 5, 2012

Kristen's Cranana Bread


     Before we begin baking this delicious bread, a couple of thanks are in order.  First, thank you to my lovely husband who allows me to guest-post on his blog. Second, to The Baking Bird, the creator of the recipe on which this recipe is based; I have modified it a bit over time by adding craisins and walnuts, as well as experimenting with the ingredients in accordance with my preferred flavoring and consistency desires.

So, here it is.  Cranana bread in 10 easy steps.

3 overly ripe bananas. The grosser, the better. 
1/3 cup applesauce
1/4 cup oil
1/2 cup raw sugar
2 tbsp molasses
1 1/2 cups all purpose flour
1/2 cup whole wheat flour
3/4 tsp. baking soda
1 tsp cinnamon
1/4 tsp nutmeg
1/4 tsp allspice (This is its own thing, not just a mixture of spices. Not that I ever thought that.)
1/2 tsp salt
1/4 c craisins
Some walnuts

Step 1: Go bananas!  

     Usually I freeze the bananas in their peels in order to ripen them more quickly and to keep any household pests out of them as they do so.  The day I make the banana bread, I take them out and allow them to thaw so I can peel them.  Running hot water over them can help.  Don't worry, these bananas really can't get much slimier, so water won't hurt. 


     Step 2: Smmmmoooosh the bananas! 
This is the fun part. 
I like to leave them a little chunky.


Step 3: Make sure to give each ingredient their close-up. 
Some people say they can't bake. 
I say some people can't pay attention to their ingredients.


Step 4: Mix the wet ingredients


Step 5: Sift the dry ingredients together and stir them slowly into the wet mixture.


Step 6: Check the consistency

     I love whole wheat flour, but sometimes it can make baked goods too thick and dry.  The batter should be thicker than cake batter but more runny than a dough intended to roll into a ball (like pizza dough).  If the batter is too thick, I find adding a tablespoon of water thins it without changing the flavor.  If it is too thin, add (slowly) more flour.  If the batter seems way too thick or way too thin, double-check your recipe and make sure you didn't miss Step 3.  Think real hard. 

Step 7: Stir in cranberries and walnuts to taste. 

     Cranberries add a nice texture and complimentary flavor to the bananas.  Be careful, though! They are very tart and too many cranberries can overpower the bread.  Don't be afraid to dip your finger in and take a taste when no one's looking.  Here's how Matthew and my conversation went:

Matthew: You know, the good thing about vegan baking is that you can eat as much batter as you want and not care about the raw eggs making you sick.  *Licks the now emptied bowl*
Me: As opposed to normal baking...where I eat as much batter as I want and don't care about the raw eggs making me sick.

After years of eating raw cookie dough and licking cake battered whisks, I'm still alive. Just sayin'. 


Step 8:  Fill a lightly greased bread pan approximately 3/4 full and bake for 45-60 minutes at 375 degrees. 

     Depending on your oven and the size of your bread pan, the length of time to cook may vary.  Just use the clean fork test.  Going by the "golden brown edges" test doesn't work when the bread is already golden brown.  


Step 9: Make more puns.
Voila! The Grand Crananyon!


Step 10: Enjoy!